How to Use Circular Saw
Table of Contents
We independently evaluate all of our recommendations. If you click on the links we provide, we may receive compensation.
Hey there, DIY enthusiast! 👋 Ready to master one of your workshop’s most versatile power tools?
You’re in the right place!
Here’s something that might surprise you.
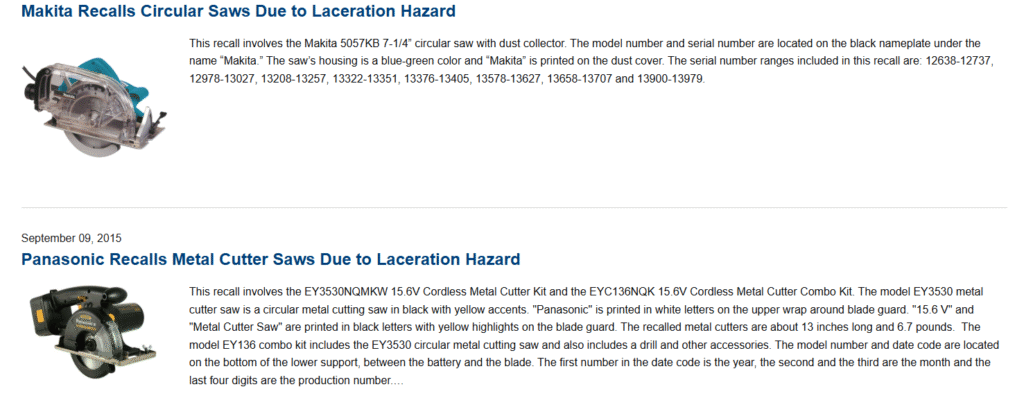
According to the U.S. Consumer Product Safety Commission, circular saws cause about 10,800 yearly injuries.
But here’s the good news.
Most of these accidents can be avoided with the proper knowledge and technique.
Whether you’re building your first bookshelf or framing a house, the circular saw will be your best friend.
It’s like the Swiss Army knife of power tools. Once you know how to use it properly, it is versatile, powerful, and game-changing for your projects.
In this guide, we’ll walk through everything together, from basics to pro-level techniques.
Plus, we’ll dive into some specific tips for popular Ryobi models.
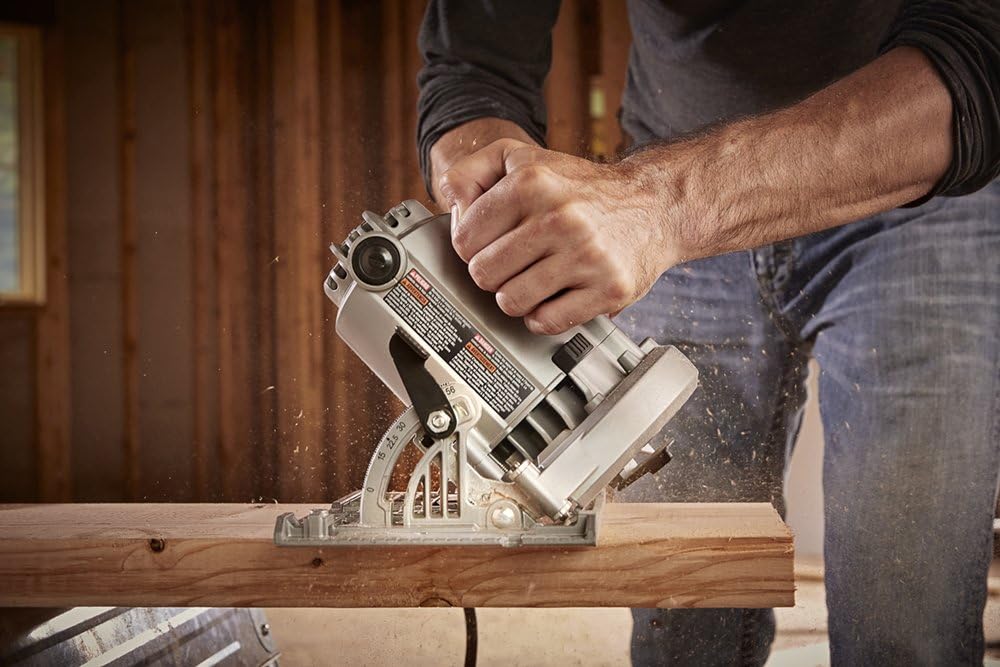
How to Use a Circular Saw: Let’s Start with the Basics
Getting to Know Your Circular Saw
Think of a circular saw as a spinning blade attached to a motor – pretty simple, right?
But understanding each part will help you use it safely and effectively.
Main Components (See Diagram Below):
    [Motor Housing]
         |
    [Blade Guard] ←→ [Trigger Switch]
         |
    [Circular Blade]
         |
    [Base Plate/Shoe]
Key Parts You Need to Know:

- Motor Housing: The powerhouse that spins your blade
- Blade Guard: Your safety buddy that covers the blade
- Base Plate (Shoe): The flat part that rides on your material
- Depth Adjustment: Controls how deep the blade cuts
- Bevel Adjustment: Lets you make angled cuts
There are two types you’ll encounter:
Sidewinder Saws: The Motor sits next to the blade. They’re lighter and perfect for most DIY projects.

Worm Drive Saws: The Motor sits behind the blade. More torque is better for heavy-duty work but is heavier to handle.
Before You Make Your First Cut
Okay, let’s discuss the prep work.
I know you’re excited to start cutting, but a few minutes of preparation will save you hours of headaches later!
Setting Up Your Workspace:
- Find a well-lit area (you need to see what you’re doing!)
- Make sure you have room to move around
- Set up a stable work surface at a comfortable height
- Keep your workspace clean and organized
Preparing Your Material: Here’s a pro tip that’ll save your blade and possibly your fingers – always check for nails, screws, or other metal bits hiding in your wood. I’ve seen too many good blades ruined by a hidden nail!
Also, clean off any dirt or debris. It might seem minor, but clean cuts start with clean materials.
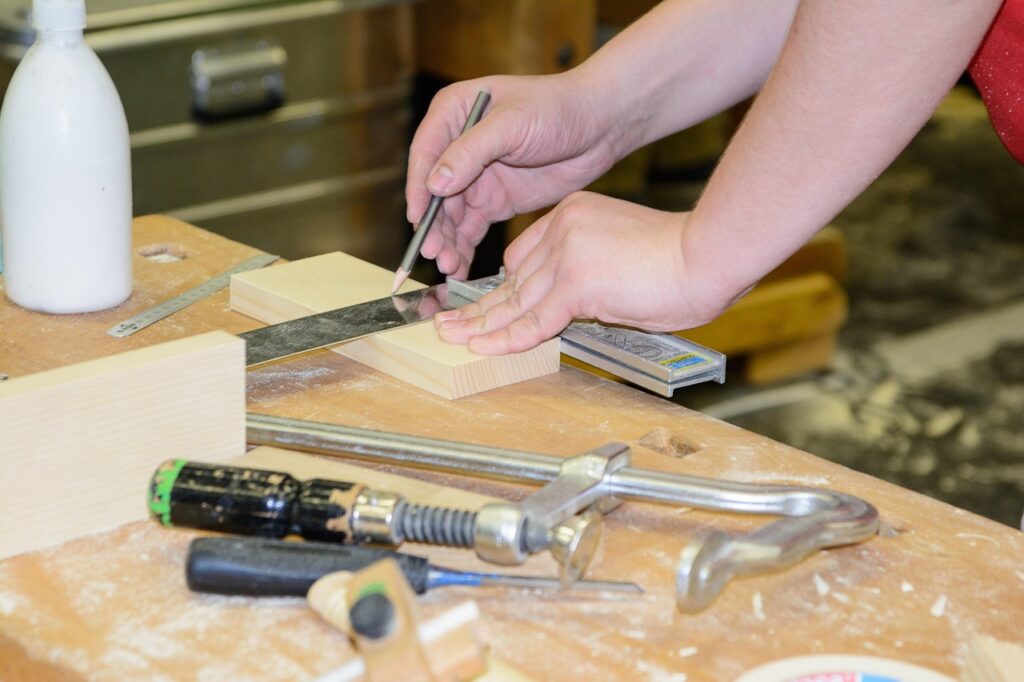
Measuring and Marking: Use a sharp pencil for clear, visible lines. For crosscuts, mark on the face where the blade will exit – this helps prevent ugly tear-out on your finished piece.
💡 Carpenter’s Wisdom: “Measure twice, cut once – but with a circular saw, also check your blade depth twice. That extra moment of preparation saves both material and fingers!”
– John Henderson, Master Carpenter
Your First Cut: Step-by-Step
Ready for the moment of truth? Let’s make your first cut together!
1: Set Your Blade Depth
Material Thickness + 1/4" = Blade Depth Setting

Example: 3/4" plywood → Set blade to 1" depth
2: Position Everything
- Put the waste piece on the right side of the blade (if you’re right-handed)
- This keeps your base plate supported on the good piece
- Clamp your material when possible – free hands are safe hands!
3: Line It Up
- Position the base plate against your marked line
- Make sure the blade is on the waste side of your mark
- Double-check your alignment before starting
4: Start Your Cut
- Start the saw and let it reach full speed (about 2-3 seconds)
- Don’t rush this – let the blade get up to speed first
- Then slowly guide it into the material
5: Keep It Steady

- Maintain a steady feed rate – not too fast, not too slow
- Let the blade do the work, don’t force it
- Keep the base plate flat against the material
Step 6: Finish Strong
- Keep moving forward until the blade completely clears the material
- Don’t lift the saw until the blade stops spinning
- The blade guard needs time to close properly
Safety First (And Second, and Third!)
Let’s talk about keeping all your fingers attached, shall we?
Your Safety Gear Checklist:

- Safety glasses – Eye injuries make up 31% of circular saw accidents (OSHA data)
- Hearing protection – These saws are LOUD (90-100 decibels)
- Dust mask – Especially important with treated lumber
- Proper clothing – No loose sleeves or jewellery
- Non-slip shoes – Closed-toe only, please!
Understanding Kickback (The Big Scary Thing)
Kickback is when the saw suddenly jerks back toward you. It sounds terrifying, but it’s preventable when you know what causes it:
Common Kickback Causes:
── Dull blade binding in the cut
── Cut closing up and pinching the blade
── Cutting warped or twisted lumber
── Blade hitting a knot or foreign object
How to Prevent Kickback:
- Keep blades sharp
- Support your material properly
- Stand to the side, not directly behind the saw
- Maintain firm control with both hands
- Never reach under the material while cutting
How to Properly Use a Circular Saw: Level Up Your Skills
Choosing the Right Blade (It’s Like Picking the Right Tool for the Job)
Not all blades are created equal! Here’s the deal:
Tooth Count Guide:
24 Teeth    → Fast, rough cuts (framing lumber)
40 Teeth    → Good all-around choice
60+ Teeth   → Smooth, finish-quality cuts
Blade Types Breakdown:
Rip Blades:
── Fewer teeth (24-30)
── Aggressive angles
── Perfect for cutting WITH the grain
── Fast cutting, rough finish

Crosscut Blades:
── More teeth (60-80)
── Fine angles
── Perfect for cutting ACROSS the grain
── Slower cutting, smooth finish

Combination Blades:
── Medium teeth (40-50)
── Versatile design
── Good for both rip and crosscut
── Great starter choice
Blade Materials:

- Steel blades: Cheap but dull quickly
- Carbide-tipped: More expensive but last WAY longer
- High-end carbide: Best performance, most extended life
Making Precision Cuts Like a Pro
Straight Cuts Without Guides: Here’s a little secret: Focus on the front edge of your base plate, not the blade itself. It’s like driving a car. You look where you want to go, not at the hood ornament!
Using Cutting Guides: Want to make cuts that look professional? Guides are your best friend:
Simple Guide Setup:
1. Clamp a straight board parallel to your cut line
2. Run your saw base plate against the board
3. Measure the distance from blade to base plate edge
4. Position guide that distance from your cut line
Bevel Cuts (Angled Cuts): Most saws adjust from 0° to 45°. Remember that your cutting depth changes when you change the angle. You might need to readjust!

Pro Contractor Tip: “The difference between a good cut and a great cut is patience and the right setup. Take time to set up guides properly, double-check your measurements, and make test cuts when trying new techniques.”
– Maria Rodriguez, Professional Contractor
Advanced Techniques (You’re Getting Good at This!)
Plunge Cuts: Sometimes, you must start a cut in the middle of a board. Here’s how:
Plunge Cut Process:
1. Mark your cut line clearly
2. Position saw with front of base plate on material
3. Retract blade guard manually
4. Start saw and slowly lower spinning blade into material
5. Complete cut normally
Cutting Thick Material: Do you have something thicker than your blade that you can handle in one pass? No problem:
- Cut from one side at full depth
- Flip the material over
- Align carefully and complete the cut
- Take your time with alignment – rushing leads to steps in your cut
Working with Different Materials
Wood Types:
- Hardwoods (oak, maple): Need sharp blades, slower feed rate
- Softwoods (pine, fir): Cut quickly, but watch for tear-out
- Engineered materials (plywood, MDF): Use fine-tooth blades
Grain Direction Matters:
Rip Cuts (with grain):    Tend to follow wood fibers
Crosscuts (across grain): Easier to control, more tear-out risk
Pro Tips for Clean Cuts:
- Cut with the good face down
- Use masking tape over cut lines to prevent tear-out
- Score the line with a utility knife first
- Support both sides of your cut
How to Use Ryobi Circular Saw: Brand-Specific Know-How
Meet the Ryobi Family

Ryobi makes some solid circular saws that won’t break the bank. Let’s look at the popular models:
Ryobi Model Comparison:
P506 (Entry Level):
── 6½" blade
── Basic depth/bevel adjustments
── Good for light-duty work
── Budget-friendly option

P507 (Step Up):
── 6½" blade with laser guide
── Improved ergonomics
── Dust port for vacuum connection
── Great for most DIY projects

CSB125 (Corded Power):
── 7¼" blade
── 13-amp motor
── Heavy-duty applications
── No battery needed
Ryobi holds about 8% of the North American circular saw market. They’re a solid middle ground between budget tools and premium brands.
Ryobi-Specific Features That Make Life Easier
Laser Guide System: The laser shows you exactly where you’re cutting.
Pretty cool, right?
Here’s how to get the most out of it:
Laser Guide Tips:
── Works best in dim lighting
── Bright sunlight can wash it out
── Calibrate with test cuts on scrap
── Shows blade path, not kerf width
Dust Port Connection: Hook up a shop vacuum to keep your cut line visible and your lungs happy:
- Connect the standard shop vac hose to the dust port
- Turn on the vacuum before starting the cut
- Enjoy clear sight lines and cleaner air
- Your spouse will thank you for less mess!
Blade Changes Made Simple:
Ryobi Blade Change Steps:
1. Unplug saw or remove battery
2. Press blade lock button
3. Use provided wrench (turn counterclockwise)
4. Remove old blade, install new one
5. Tighten securely (don't over-tighten!)
Real-World Example: Deck Board Installation
Let’s say you’re installing new deck boards with your P507.
Here’s your setup:
Preparation:
- Install a fine-tooth blade for clean cuts in pressure-treated lumber
- Adjust depth for decking thickness plus ¼”
- Connect the shop vacuum to the dust port
- Set up sawhorses for a stable cutting platform
Cutting Process:
- Use a laser guide to maintain straight cuts across multiple boards
- Mark several boards at once for efficiency
- Cut all boards to length before installation
- The dust collection keeps your work area safe and clean
Keeping Your Ryobi Running Smooth
Battery Care (For Cordless Models): Your batteries are like the heart of your cordless tools – treat them right!
Battery Best Practices:
── Store in cool, dry places
── Don't let them completely discharge
── Bring indoors during winter
── Clean connection points regularly
── Have backup batteries for big projects
Common Issues and Quick Fixes:
- Motor bogs down: Check blade sharpness, reduce feed rate
- Battery dies quickly: Cold weather? Warm the battery first
- Blade guard sticks: Clean out sawdust buildup
- Cuts aren’t straight: Check the blade for damage, ensure proper technique
Maintenance Reminder: “A clean tool is a happy tool. Blow out your saw with compressed air after every few uses, and it’ll serve you well for years.”
– Tool Maintenance Specialist
When Things Go Wrong: Troubleshooting Made Easy
Cut Quality Issues
Problem: Rough or Burned Cuts
Diagnosis Checklist:
□ Is the blade dull? (Most common cause)
□ Are you pushing too hard?
□ Moving too slowly?
□ Wrong blade for the material?
Solution: Usually, it’s time for a new blade. Sharp blades = clean cuts!
Problem: Curved Cuts When You Want Straight.
This usually means:
- Dull blade following the grain
- Not maintaining steady pressure
- The material isn’t correctly supported
Fix: New blade, better technique, proper support.
Performance Problems
Motor Struggling? Check these in order:
- Blade sharpness (dull blades work the motor harder)
- Extension cord size (too small = voltage drop)
- Feed rate (let the saw work at its own pace)
Battery Dying Too Fast?
- Cold weather kills battery life.
- Older batteries lose capacity.
- Higher amp-hour batteries last longer
Mechanical Issues
Blade Guard Problems: Clean it regularly! Sawdust buildup is usually the culprit. Never tie back or disable the guard – it’s there for a reason.
Depth Adjustment Sticking: Clean the adjustment tracks and lubricate moving parts. If the sticking is severely damaged, it needs professional repair.
Wrapping Up: You’ve Got This!
Congratulations! You’ve learned everything you need to know about using a circular saw safely and effectively. 🎉
Remember the Key Points:
- Safety first, always
- Sharp blades make all the difference
- Take time to set up properly
- Practice makes perfect
- When in doubt, make a test cut
Your Next Steps:
- Start with simple projects on scrap wood
- Focus on safety and basic techniques first
- Gradually work up to more complex cuts
- Don’t be afraid to ask questions or seek help
Every expert was once a beginner, and every professional contractor started with their first wobbly cut. The key is to start with safety, build your skills methodically, and never rush the process.
Whether you’re using a basic corded saw or a fancy Ryobi with all the bells and whistles, these fundamentals will serve you well. Remember, it’s not about having the most expensive tools – it’s about understanding how to use them properly.
Now get out there and start making some sawdust! Your next project is waiting, and you have the knowledge to tackle it safely and successfully.
Happy cutting! 🔨
Quick Reference Safety Checklist:
- [ ] Safety glasses on
- [ ] Hearing protection in place
- [ ] Material properly supported
- [ ] Blade depth set correctly
- [ ] Cutting the path clear of obstacles
- [ ] Both hands are ready for control
- [ ] Standing to the side, not behind the cut