How to Use a Tape Measure .
A tape measure is one of the most used tools on any job site or home workshop. It looks simple, but many people use it incorrectly and end up with measurements that are off by a few millimetres or even centimetres. Those small errors can ruin a woodworking project, cause tiles to misalign, or waste expensive materials. This guide will teach you exactly how to use a tape measure the right way from start to finish.
Table of Contents
Understanding the Parts of a Tape Measure
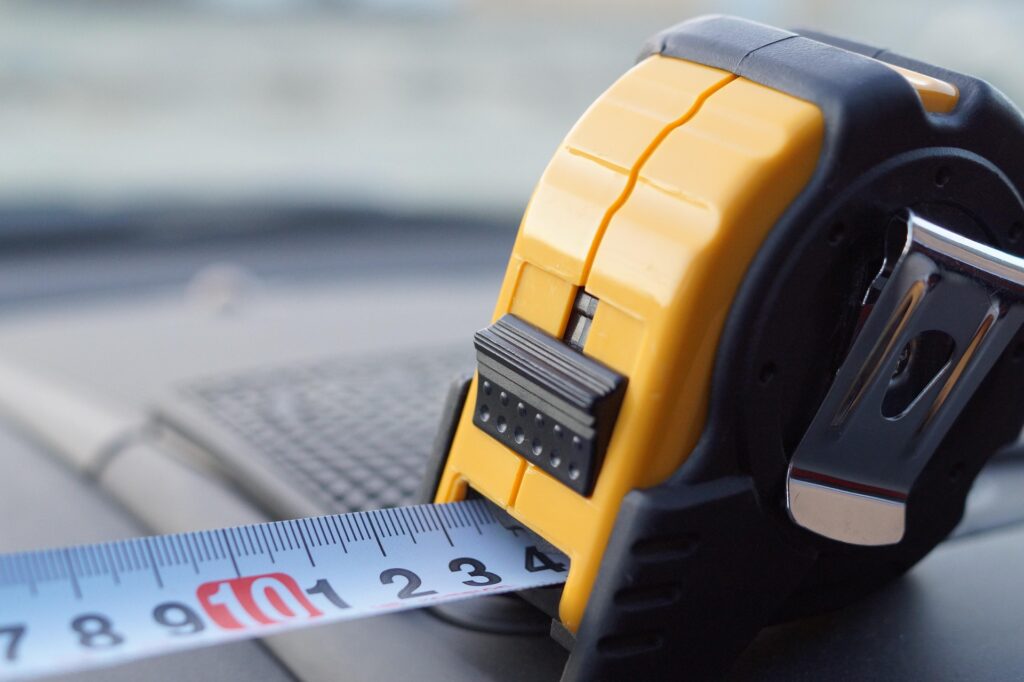
Before you start measuring anything, take a moment to understand what you are working with. A standard tape measure has five key parts:
The Blade is the long, flexible metal strip marked with measurement units. Most blades show both metric (centimetres and millimetres) and imperial (inches and feet) measurements on opposite edges.
The Hook is the small metal tab at the very end of the blade. It is designed to slide slightly to account for whether you are hooking it over an edge or pressing it against a surface. This movement is intentional and gives you accurate readings in both cases.
The Case is the hard plastic or rubber housing that holds the coiled blade. It also serves as a reference point for inside measurements.
The Lock Button holds the blade in place once you have extended it to your desired length, freeing both hands to mark or note the measurement.
The Belt Clip attaches the tool to your belt or pocket so it stays within easy reach on the job.
How to Read a Tape Measure Correctly
Reading a tape measure confuses many beginners. Here is a straightforward breakdown:
On the imperial side, the longest lines mark whole inches. The next longest lines mark half inches. Shorter lines mark quarter inches, eighth inches, and sixteenth inches. The more lines you learn to count, the more precise your measurements become.
On the metric side, large numbers mark centimetres. The smaller lines between them represent millimetres, with ten millimetre spaces in each centimetre. Metric measurements are generally easier to read because the system is based on tens.
Always read from left to right and line your eye up directly above the blade to avoid a parallax error, which happens when you read the measurement from an angle.
Step by Step Guide to Taking an Outside Measurement
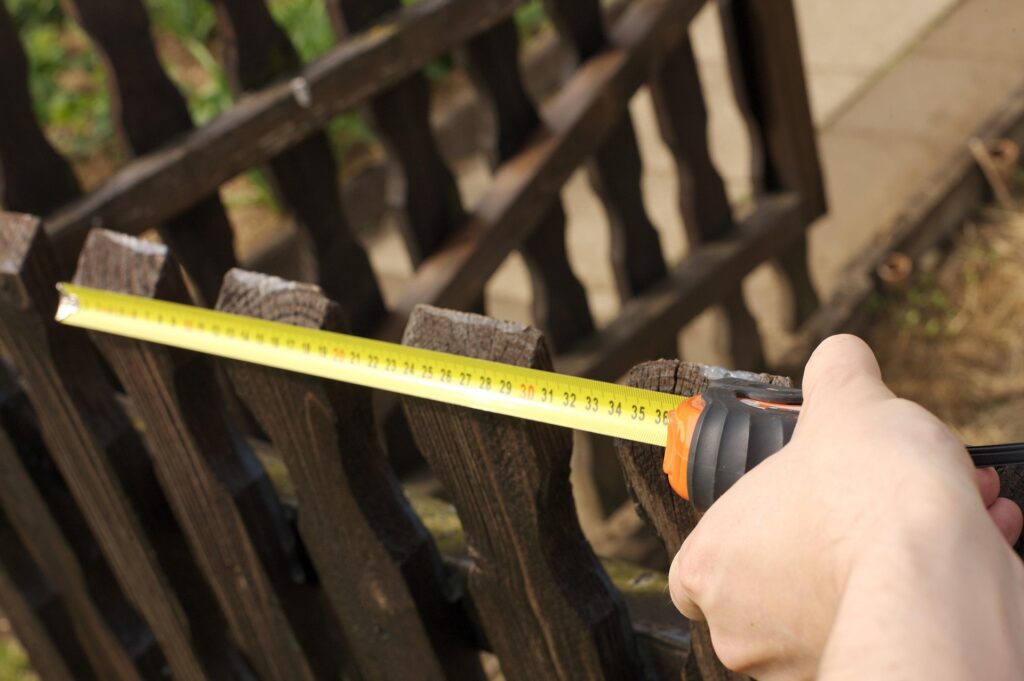
Outside measurements are the most common type. Use them when measuring the length of a wall, a piece of timber, or a countertop.
Step 1: Hook the metal tab over the edge of the object you want to measure. Make sure it sits flush and does not slip.
Step 2: Pull the blade across the surface until you reach the other end of the object.
Step 3: Press the lock button to hold the blade steady.
Step 4: Read the measurement at the point where the blade meets the far edge of the object.
Step 5: Mark the measurement clearly on your material using a pencil before releasing the blade.
How to Take an Inside Measurement
Inside measurements are used when measuring the width of a window frame, a doorway, or the interior of a cabinet. The technique is slightly different.
Press the body of the tape measure against one side of the space. Extend the blade until it touches the opposite side. Add the length printed on the back of the case (usually 7 or 10 centimetres depending on your tape model) to the number shown on the blade. This gives you the true inside dimension.
How to Measure Vertically and Overhead
Measuring height or overhead distances requires a bit of extra care. Extend the blade upward and use the lock button immediately to prevent the blade from bending under its own weight. Always have a second person assist you with long vertical measurements to ensure the blade stays straight and true.
Common Mistakes to Avoid
Not accounting for the hook movement. The hook is designed to slide, so do not try to bend it back into a fixed position. Trust the design and use it as intended.
Starting from the one centimetre mark. Some people start measuring from the one centimetre mark to avoid dealing with the hook. If you do this, remember to subtract one centimetre from your final reading or your measurements will always be off.
Bending the blade around corners. A tape measure is not a flexible ruler. When measuring around corners, take two separate measurements and add them together for accuracy.
Ignoring blade wear. Over time the markings near the hook end can fade or the hook itself can loosen. Inspect your tape measure regularly and replace it when it shows signs of wear.
Caring for Your Tape Measure
Always retract the blade slowly rather than letting it snap back at full speed. A fast retraction bends and weakens the blade over time. Keep the tool away from moisture to prevent rust on the blade. Store it in a dry toolbox or pouch when not in use.
Final Thoughts
A tape measure is a small tool with a big impact on the quality of your work. Once you understand how to read it correctly, how to use the hook properly, and how to take both inside and outside measurements with confidence, your accuracy on every project will improve dramatically. Practice on a few surfaces at home and you will be measuring like a seasoned craftsman in no time.