How to Use a Digital Multimeter
A digital multimeter is one of the most useful tools you can own, whether you are a professional electrician, a DIY enthusiast, or just someone who wants to troubleshoot a dead battery at home.
Once you understand how to use it correctly, you will be able to measure voltage, current, and resistance with confidence. This guide walks you through everything you need to know to get started and get accurate readings every time.
We independently evaluate all of our recommendations. If you click on links we provide, we may receive compensation.
Table of Contents
What Is a Digital Multimeter?
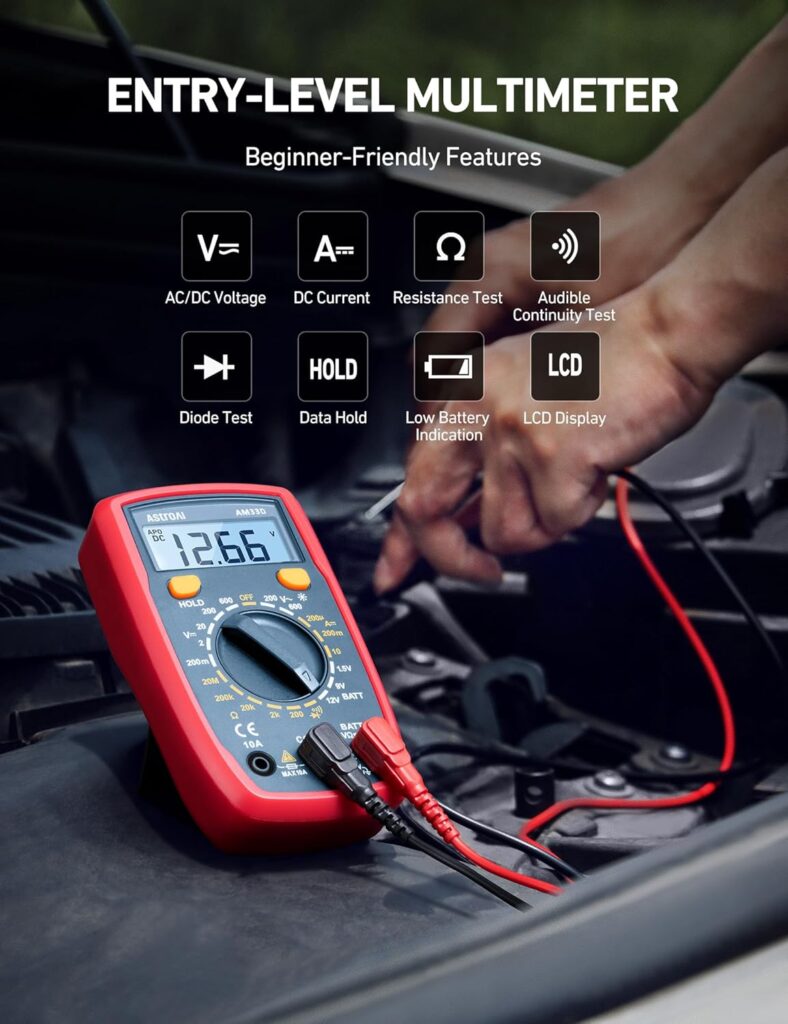
A digital multimeter, often called a DMM, is an electronic measuring instrument that combines several measurement functions in one device. At its core, it measures voltage (volts), current (amps), and resistance (ohms).
Most modern units also test continuity, diodes, capacitance, and temperature. The digital display makes it easy to read exact values without guessing, unlike older analog meters with a moving needle.
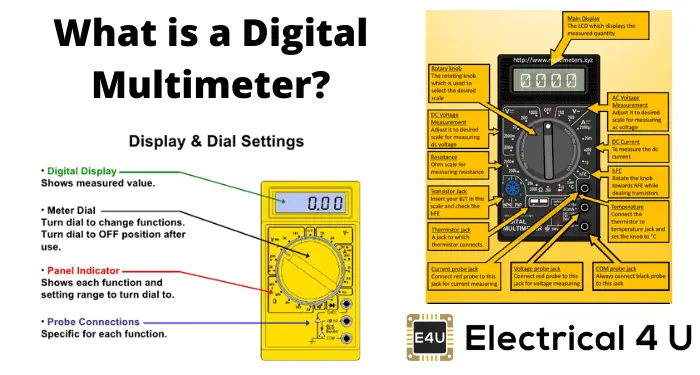
Parts of a Digital Multimeter
Before you take a reading, you need to know the three main parts:
- Display: Shows the measurement reading as a number.
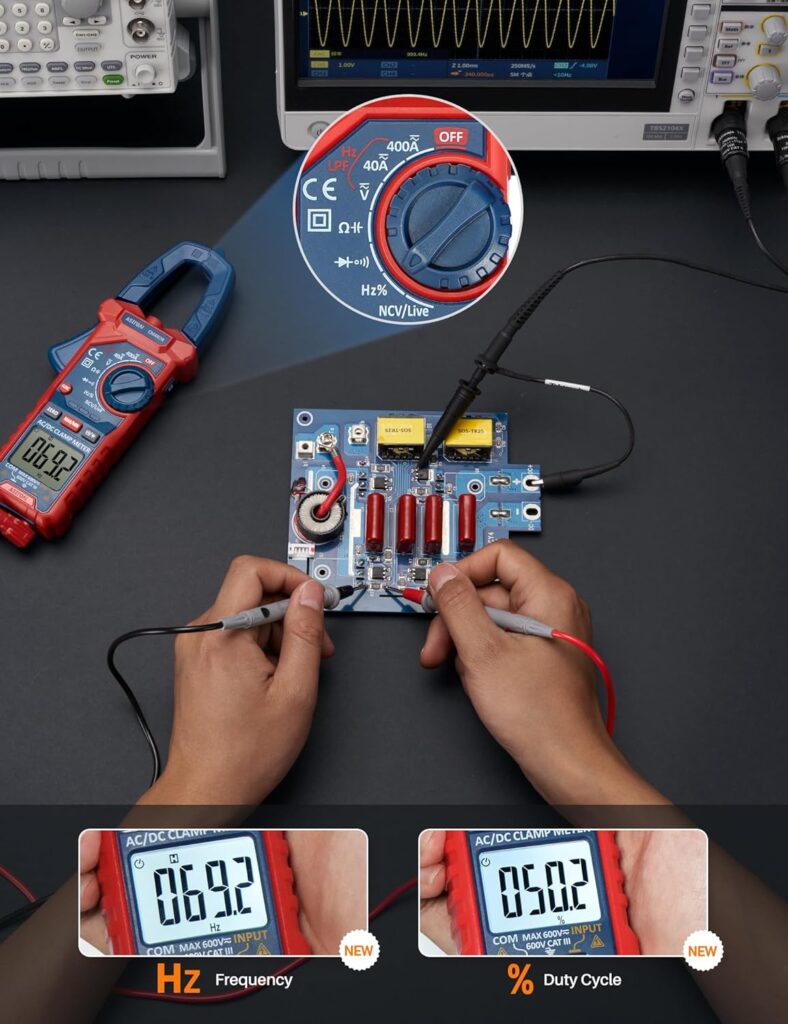
- Dial (Rotary Switch): Selects the type of measurement you want to take.
- Ports: Sockets where you plug in the test leads. Most meters have three ports labeled COM, V/Ohm, and 10A (or mA).

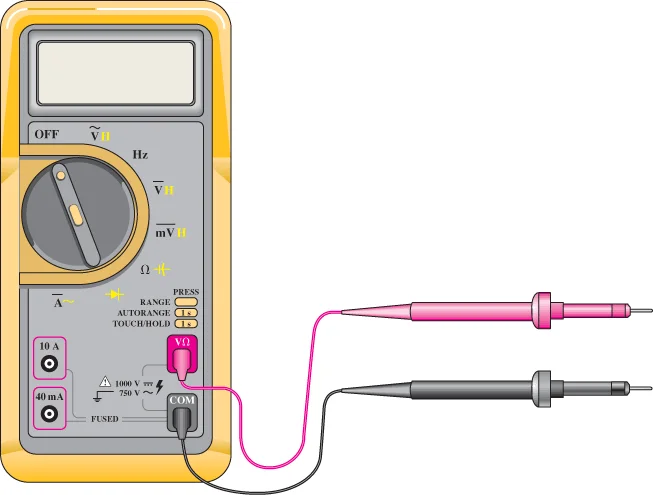
How to Plug In Your Test Leads
Correct lead placement is critical for both safety and accuracy. Always plug the black lead into the COM port. For voltage and resistance, plug the red lead into the V/Ohm port.
When measuring high current (usually above 200 mA), move the red lead to the 10A port. Using the wrong port can blow the internal fuse or damage the meter.
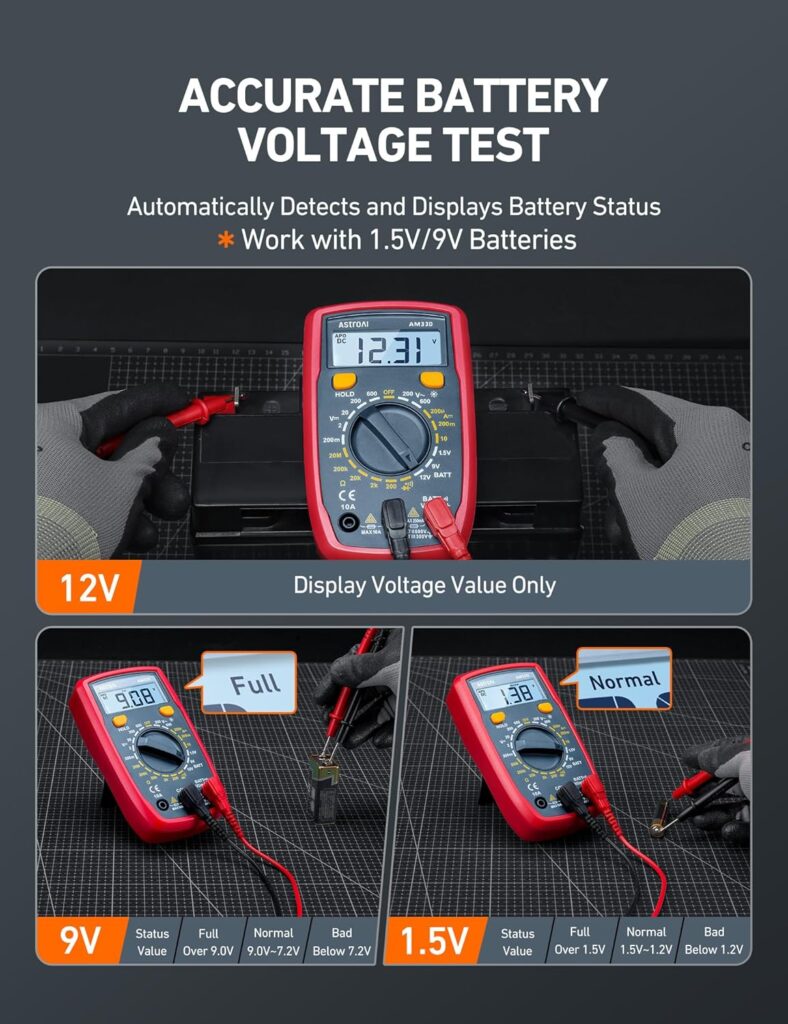
Measuring Voltage
Voltage is the most common measurement you will take. First, set the dial to DC voltage (marked V with a straight line) for batteries and most electronics, or AC voltage (marked V with a wavy line) for wall outlets.
Touch the black probe to the negative terminal and the red probe to the positive terminal. The screen will show the voltage value. If you see a negative reading, you have the probes reversed, which is harmless but means you should swap them for a correct positive reading.
Measuring Resistance
Always power off the component before measuring resistance. Set the dial to the ohm symbol (the Greek letter omega). Touch the probes to both ends of the component you want to test.
A reading close to zero means very low resistance (a wire, for example), while a reading of OL or 1 on the display means the resistance is too high to measure on that range. Use this function to check resistors, fuses, and wire connections.
Measuring Current
Measuring current is different because your meter must become part of the circuit. You need to break the circuit and insert the multimeter in series, meaning the current flows through the meter.
Set the dial to amps (A), move the red probe to the 10A port for large currents, then reconnect the circuit with the probes in between. Read the display. This is an advanced step, so make sure the circuit is designed to handle interruption before you do this.
Testing Continuity
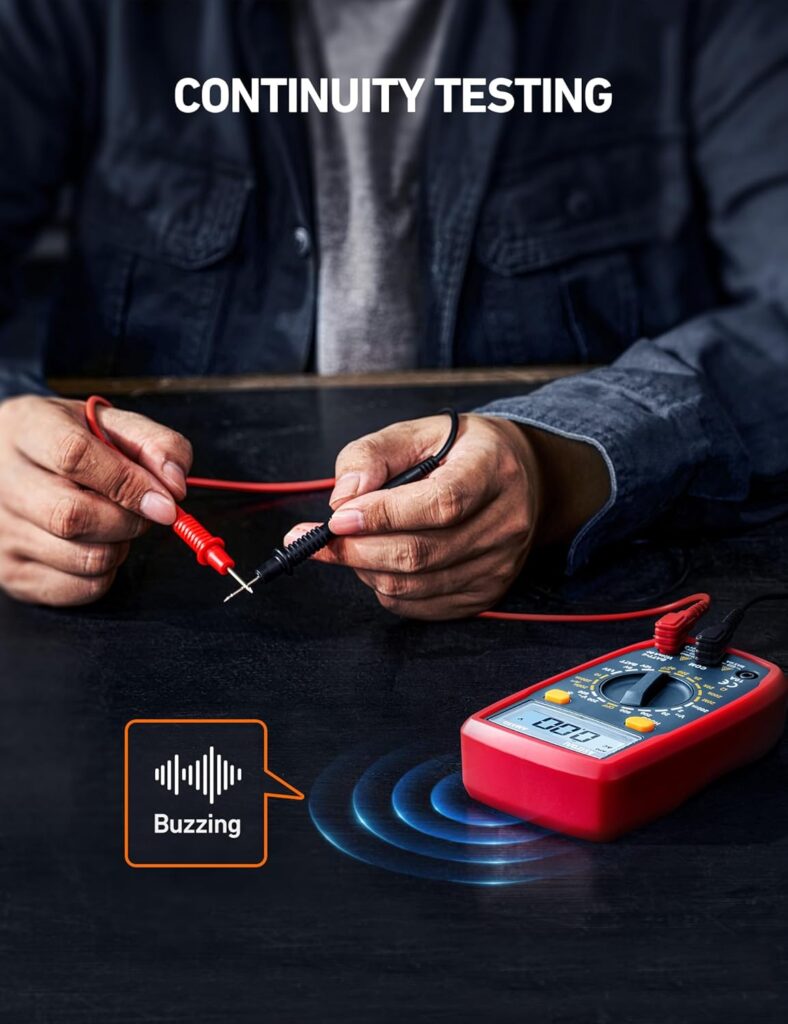
Continuity mode is your go-to for checking whether a wire or connection is complete. Set the dial to the continuity symbol, which looks like a sound wave or a diode arrow. Touch the probes to both ends of the wire or connection.
If the meter beeps, current can flow and the connection is good. No beep means the circuit is broken somewhere. This feature saves you hours of guesswork when tracing wiring problems.
Safety Tips You Should Never Ignore
- Never measure voltage and current at the same time.
- Always check that you are using the correct range before testing.
- Do not touch the metal tips of the probes while testing live circuits.
- Keep your meter rated for the voltages you plan to work with.
Start Measuring with Confidence
A digital multimeter becomes second nature the more you use it. Start with simple tasks like checking a battery or testing a household outlet, and work your way up to more complex electrical troubleshooting.
Once you understand what each setting does, you will wonder how you ever managed without one in your toolbox. If you are ready to pick up a reliable multimeter, check out the top-rated options on Amazon to find one that fits your needs.
Also Read On:
Best Pressure Washers for Home Use .