How to Use a Car Code Reader: Step-by-Step
When your check engine light comes on, your first instinct might be to panic or head straight to a mechanic. Before you do either, you can take control of the situation yourself. Learning how to use a car code reader gives you the power to diagnose your vehicle, understand what is wrong, and make smarter decisions about repairs. This guide walks you through the entire process, from plugging in the tool to understanding what the codes mean.
We independently evaluate all of our recommendations. If you click on the links we provide, we may receive compensation.
Table of Contents
- 1 What Is a Car Code Reader?
- 2 What You Need Before You Start
- 3 Step-by-Step: How to Use a Car Code Reader
- 4 Step 1: Locate the OBD2 Port
- 5 Step 2: Plug In the Code Reader
- 6 Step 3: Turn On the Ignition
- 7 Step 4: Read the Fault Codes
- 8 Step 5: Look Up the Codes
- 9 Step 6: Clear the Codes (Optional)
- 10 Tips for Getting the Most Out of Your Code Reader
- 11 Final Thoughts
What Is a Car Code Reader?
A car code reader, also called an OBD2 scanner, is a handheld device that connects to your vehicle’s onboard diagnostic system. Every car sold in the United States after 1996 is required to have an OBD2 port. The scanner reads fault codes stored in your car’s computer, which tell you which system is malfunctioning and why the check engine light is on.
Car code readers range from basic models that only read and clear codes to advanced scanners that display live data, sensor readings, and emissions readiness status. For most everyday drivers, a straightforward reader gets the job done.
What You Need Before You Start
Before you begin, gather the following:
- A compatible OBD2 car code reader
- Your vehicle (engine off but keys accessible)
- A smartphone or notepad to record the codes
- Access to an OBD2 code database or your reader’s built-in lookup feature
Step-by-Step: How to Use a Car Code Reader

Step 1: Locate the OBD2 Port
The OBD2 port is a 16-pin connector typically found under the dashboard on the driver’s side. In most vehicles you will find it within reach of the steering column, often near the fuse box area. It looks like a small trapezoid-shaped socket. If you cannot find it right away, check your vehicle’s owner manual for the exact location.
Step 2: Plug In the Code Reader
With the engine turned off, insert the code reader’s connector firmly into the OBD2 port. You should feel it click or seat snugly. Most readers power on automatically once connected. If yours does not, check for a power button on the device.
Step 3: Turn On the Ignition
Turn your key to the “On” position without starting the engine. This activates the vehicle’s electronics and allows the scanner to communicate with your car’s computer. Some modern code readers require the engine to be running, so follow the instructions that came with your specific tool.
Step 4: Read the Fault Codes
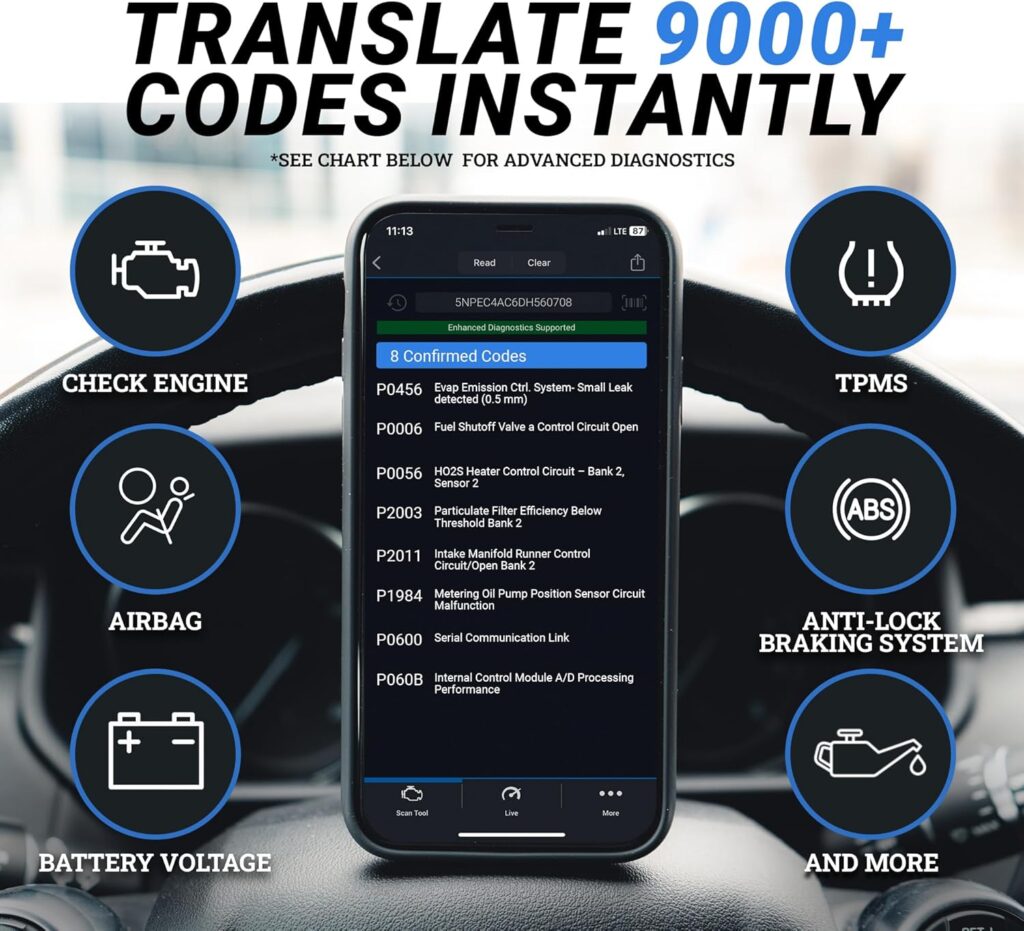
Navigate to the “Read Codes” or “Scan” option on your code reader’s menu. The device will communicate with your vehicle’s ECU and pull up any stored Diagnostic Trouble Codes, commonly known as DTCs. These codes follow a standard format, starting with a letter followed by four digits. For example, P0300 points to a random misfire detected in the engine.
Write down every code that appears. Some readers also display a short description alongside each code, which makes the next step even easier.
Step 5: Look Up the Codes
Once you have your codes, look them up to understand what each one means. Most code readers come with a built-in code library. You can also search any code online or use a repair database. Knowing exactly what the code refers to helps you decide whether the repair is something you can handle yourself or whether you need professional help.
Keep in mind that a single fault code does not always mean only one part needs replacing. The code points to a system or circuit. Further diagnosis may be needed before ordering parts.
Step 6: Clear the Codes (Optional)
After you have diagnosed and repaired the issue, you can clear the codes using the “Erase Codes” or “Clear” function on your scanner. This resets the check engine light. If the underlying problem has not been fixed, the light will come back on within a few drive cycles. Clearing codes before diagnosing the root cause is not recommended.
Tips for Getting the Most Out of Your Code Reader
- Always record your codes before clearing them, even if you plan to fix the issue right away
- If multiple codes appear at the same time, address them in order as one fault can trigger others
- Use the live data feature if your reader supports it to monitor sensors in real time
- Keep your scanner stored in your vehicle so it is ready whenever you need it
Ready to get started? Check the best-reviewed OBD2 code readers and find one that suits your budget and needs.
Final Thoughts
Using a car code reader is one of the most practical skills you can develop as a vehicle owner. It saves you time, reduces unnecessary repair costs, and gives you confidence when dealing with mechanics.
Once you understand how to read and interpret the codes, you will never feel lost when that check engine light comes on again. Pick up a reliable OBD2 scanner today and put this knowledge to work on your next drive.
Also Read On:
Best Plasma Cutters for Metal Fabrication