How To Use A Handsaw
Table of Contents
How to Use Different Hand Saws Without Tiring Your Arm
If you have ever spent an afternoon cutting through lumber with a hand saw and ended your session with a burning, exhausted arm, you are not alone. Most people assume arm fatigue is just part of the job.
The truth is, fatigue usually comes from poor technique, the wrong saw for the task, or a blade that is not matched to the material. Once you fix those things, cutting becomes surprisingly effortless.
This guide breaks down the most common hand saw types and gives you clear, practical techniques to work smarter and longer without wearing yourself out.
Why Your Arm Gets Tired in the First Place
Before jumping into saw types, it helps to understand the root causes of fatigue. The three biggest culprits are:
Forcing the cut. A hand saw does the work on the push or pull stroke. When you push too hard, your muscles compensate for a dull blade or wrong technique, and they wear out fast.
Wrong body position.Sawing from an awkward angle forces small stabilizing muscles to work overtime. These muscles are not designed for sustained effort.
Gripping too tightly. A death grip on the handle tenses your forearm from the start of the cut to the end. Over time, this alone will exhaust you.Keep these in mind as you read through each saw type.
The Rip Cut Hand Saw
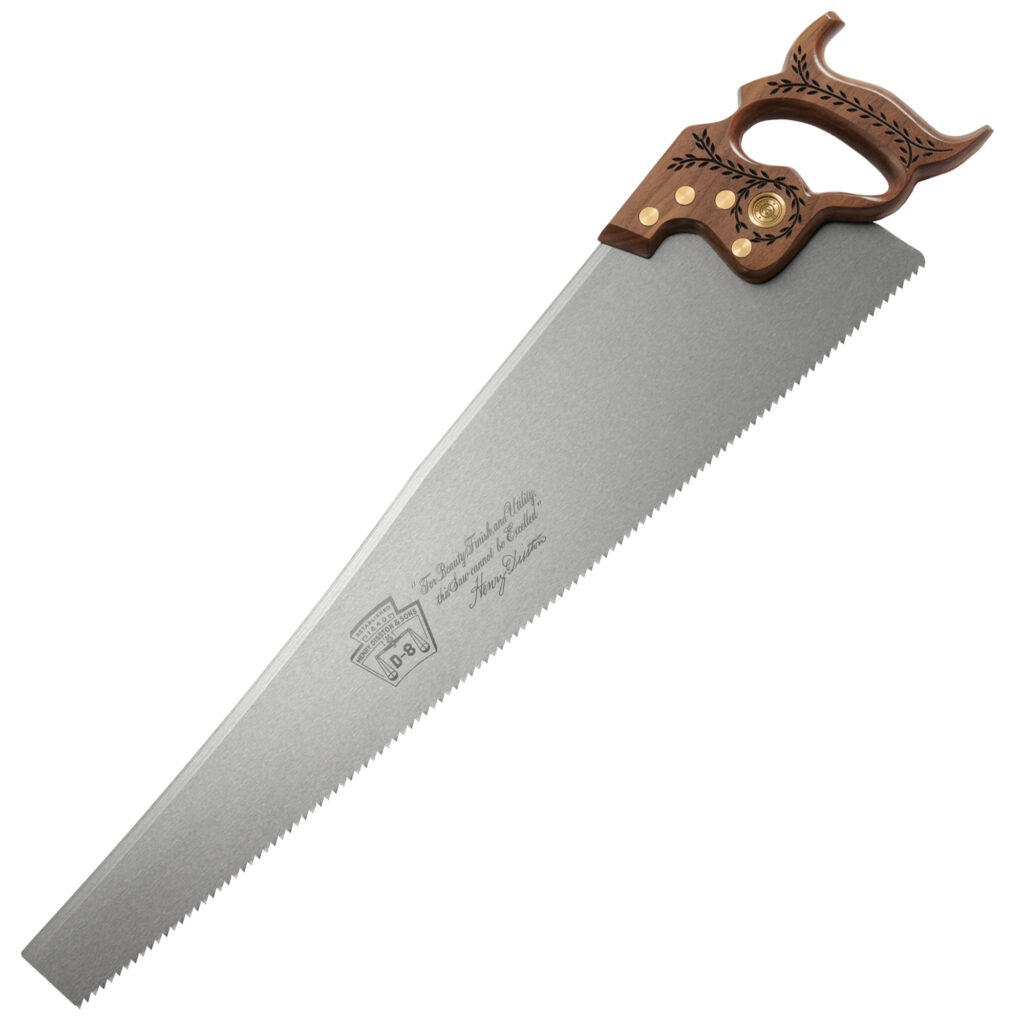
A rip cut saw has large, chisel shaped teeth designed to cut with the grain of the wood. It removes material quickly in long strokes.
Technique that prevents fatigue:
Start by positioning your body directly behind the cut line, not off to the side. Your shoulder, elbow, and wrist should travel in a straight line parallel to the blade. Use your thumb as a guide for the first few strokes to keep the blade on track.
Take full, long strokes using the entire blade length. Short, choppy strokes mean your arm muscles are working twice as hard to cover the same distance. Let the weight of the saw do the downward pressure on the push stroke.
On the return, lift slightly so the teeth are not dragging against the wood for no reason.
Keep your grip firm but relaxed. Imagine holding a ripe banana without crushing it. That level of grip is about right.
The Crosscut Hand Saw
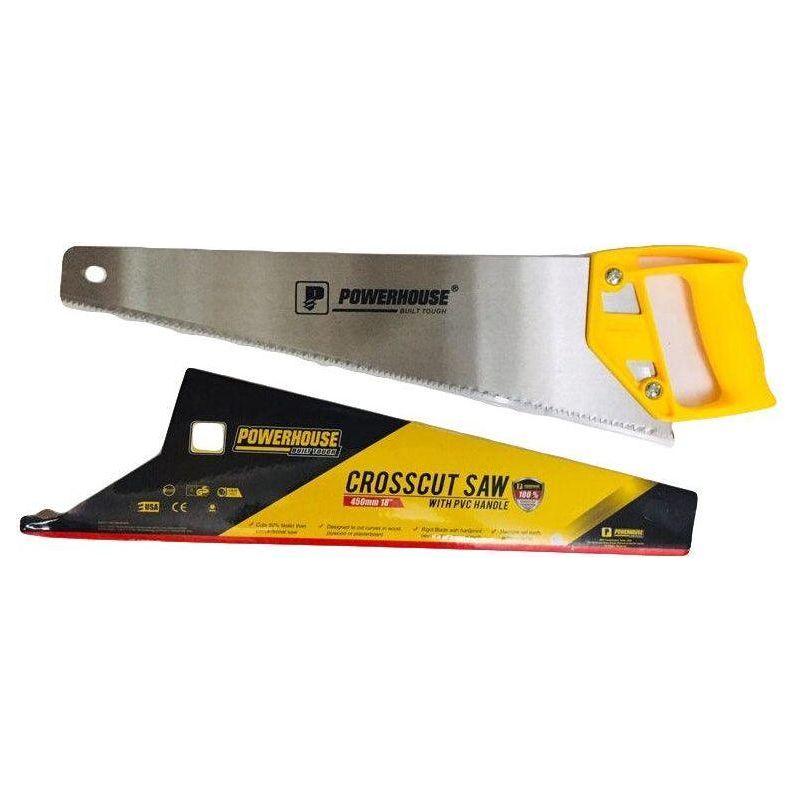
A crosscut saw has smaller, pointed teeth that sever wood fibers across the grain. It requires more precision but should not require more effort.
Technique that prevents fatigue:
The most important rule with a crosscut saw is to let the angle do the work. Hold the saw at roughly 45 degrees to the wood surface for hardwood and around 30 degrees for softwood. A lower angle gives more teeth contact per stroke and reduces the force each tooth needs to cut.
Brace the workpiece securely so it does not move. Every time your wood shifts, you reset your cut and waste energy correcting your line. A sawhorse or clamp is not optional, it is essential.
Use the forward stroke for cutting power and the backstroke as a free ride. Do not push down on the return. This alone cuts arm fatigue dramatically.
The Tenon Saw (Back Saw)
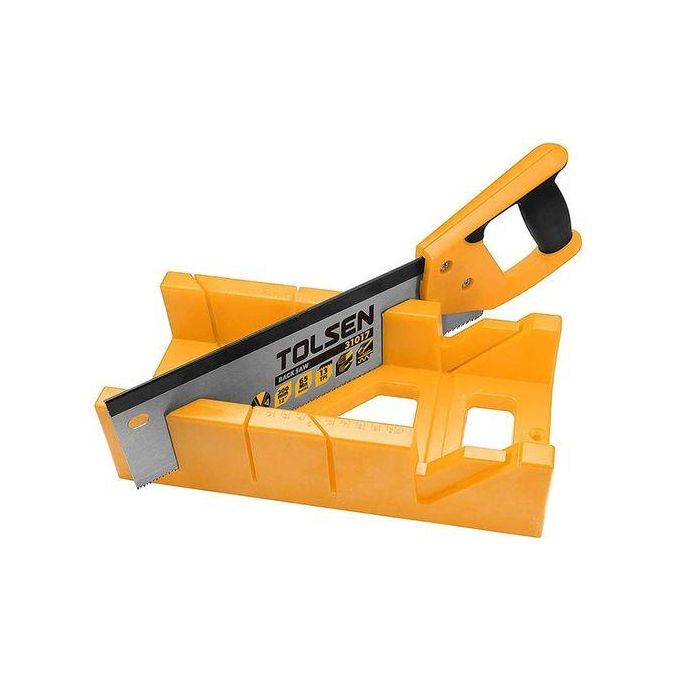
A tenon saw has a rigid spine along the top of the blade. That spine limits cutting depth but provides superb control for joinery work like cutting dovetails or mortises.
Technique that prevents fatigue:
Because tenon saws are used for short, precise cuts, fatigue usually comes from tension and concentration rather than sheer effort. The key is to relax.
Position the workpiece in a vise at a comfortable height, ideally just below elbow level. Reaching down or up forces your shoulder muscles to stabilize the saw while cutting, which drains energy fast.
Use a miter box when possible. It guides the blade automatically and means you spend zero energy keeping the cut square. Your arm only needs to move the saw back and forth, nothing else.
Start cuts with a few short backward pull strokes to create a groove, then switch to smooth full strokes.
Never force the blade into the wood at the start. This is where most people strain their wrists unnecessarily.
The Coping Saw
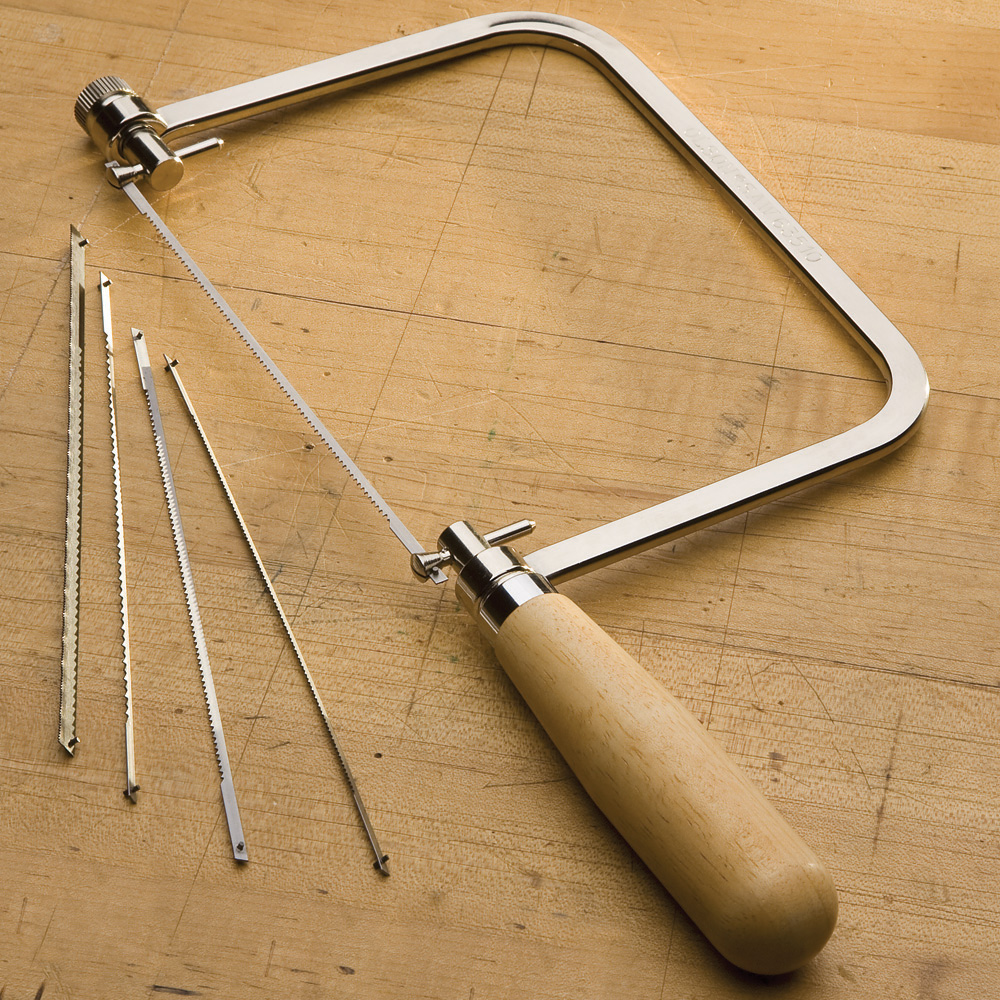
A coping saw is a thin bladed saw with a U shaped frame used for curves, scrollwork, and intricate cuts. The blade is under tension from the frame.
Technique that prevents fatigue:
The biggest mistake people make with a coping saw is pushing it like a standard hand saw. A coping saw cuts on the pull stroke. Pushing creates blade wander and forces you to correct constantly, which tires the wrist and fingers quickly.
Hold the handle loosely and let the blade follow the line. Apply only the lightest forward pressure. If you feel resistance, slow down and check your blade angle rather than forcing through.
Rotate the blade to follow curves naturally. Most coping saws allow you to spin the blade within the frame. Using this feature instead of twisting your wrist from an awkward angle protects your joints and saves energy over a long session.
The Japanese Pull Saw
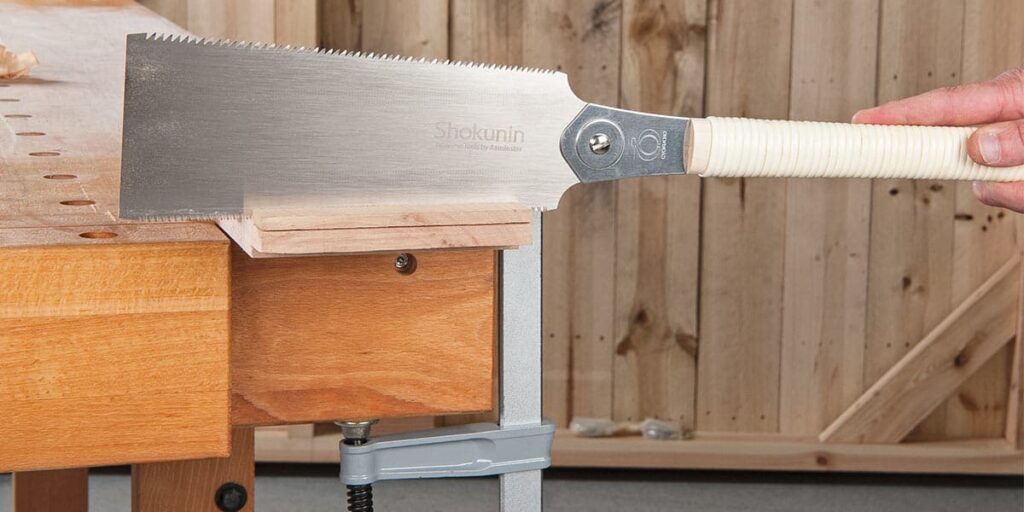
The Japanese pull saw cuts on the pull stroke rather than the push stroke. This is a game changer for arm fatigue because pulling uses your larger back and bicep muscles instead of your smaller forearm muscles.
Technique that prevents fatigue:
Set up so you are pulling the saw toward your body in a comfortable natural motion. The cut line should be at a comfortable arm extension in front of you, not stretched out at the edge of your reach.
Use light downward pressure. The thin, razor sharp teeth on a Japanese pull saw do not need force. Pressing hard actually causes the blade to flex and the cut to wander. Trust the teeth and let them do the slicing.
One of the best things about this saw is the thin kerf it leaves. Less material is being removed per stroke, which translates directly into less effort per stroke.
General Rules That Apply to Every Saw
Regardless of which saw you are using, these habits will always reduce fatigue.
Keep your blades sharp. A dull saw is the single fastest route to an exhausted arm. Sharpen or replace blades regularly.
Work at the right height. Your elbow should be slightly below the work surface when cutting. This lets your body weight assist the stroke instead of your arm muscles doing all the work alone.
Take breaks before you feel tired. Once fatigue sets in, your technique falls apart and injury risk goes up. A two minute break every fifteen minutes costs you nothing and saves your arm for hours more productive work.
Mark your cut line clearly and trust it. Constantly checking and adjusting mid cut wastes motion and energy. A sharp pencil line and a single guide stroke at the start will keep you on track without extra effort.
Final Thoughts
Arm fatigue when hand sawing is almost always a technique problem, not a fitness problem. The right body position, a relaxed grip, full length strokes, and a sharp blade will transform your sawing experience.
Start with whichever saw type matches your project, apply the techniques above, and you will find that hand sawing is far less exhausting than you ever expected.
Also Read On: